TEAGLU
Secure Email with Google Workspace
If the practice has Google Workspace for their company email, we can send email in such a way that it never leaves the organization, and therefore is covered by the Business Associate Agreement with Google. We do this by sending the email from an account inside the organization, and to do this we have to have our server authenticate to your Google Workspace domain.
Some domains are set to "Allow less secure applications", in which case you can supply us with the username and password for that email and we can send internal emails using that combination. If your domain is not set to allow that method, we can send email using a Service Account, which is sometimes referred to as Modern Authentication. Your email administrator should be able to provide one of these methods.
Modern Authentication Setup
This configuration is composed of two parts - the authentication and the authorization. You can choose to set up both in the end customer's domain, or you can create an identity in your own Google Workspace domain and then grant that delegated rights in your customer's Google Workspace domains.
Authentication - Step by Step
Authentication to google without an interactive user is based on Service Accounts. Each service account is an identity known to Google, and our service authenticates to it using a public/private key combination. The private key will be downloaded during setup. While the private key cannot be regenerated by google, you can rotate out the key-pair without changing the Service Account identity.
If we are hosting the application instead of an on-premises or co-managed instance, you can skip this step and have the practice authorize our Client ID.
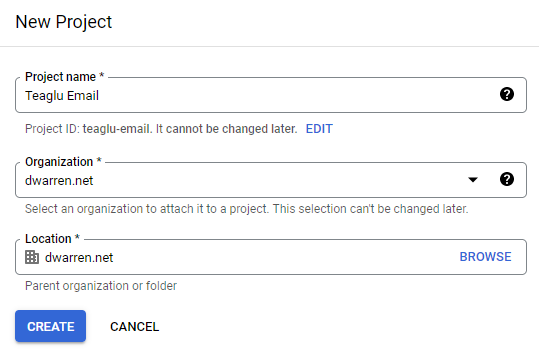
The first step is to go to the developer's console at https://console.developers.google.com and create a new project. The name of the project can be set to whatever makes sense for you, but keep in mind that the name will be visible to practice IT and should normally include the company name that's running the application.
The new project dialog looks like this:
Next select your newly created project on the top left in the drop-down beside where it says Google Cloud. This will switch the context of the console session to work on the project you just created, which looks like this:
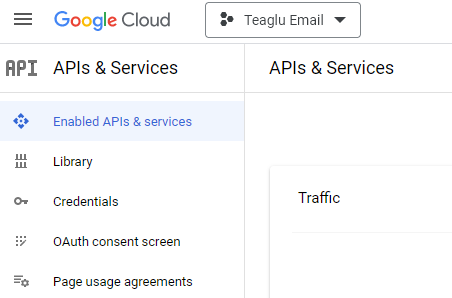
Under API & Services select Credentials, and you will see a list of different credential types;
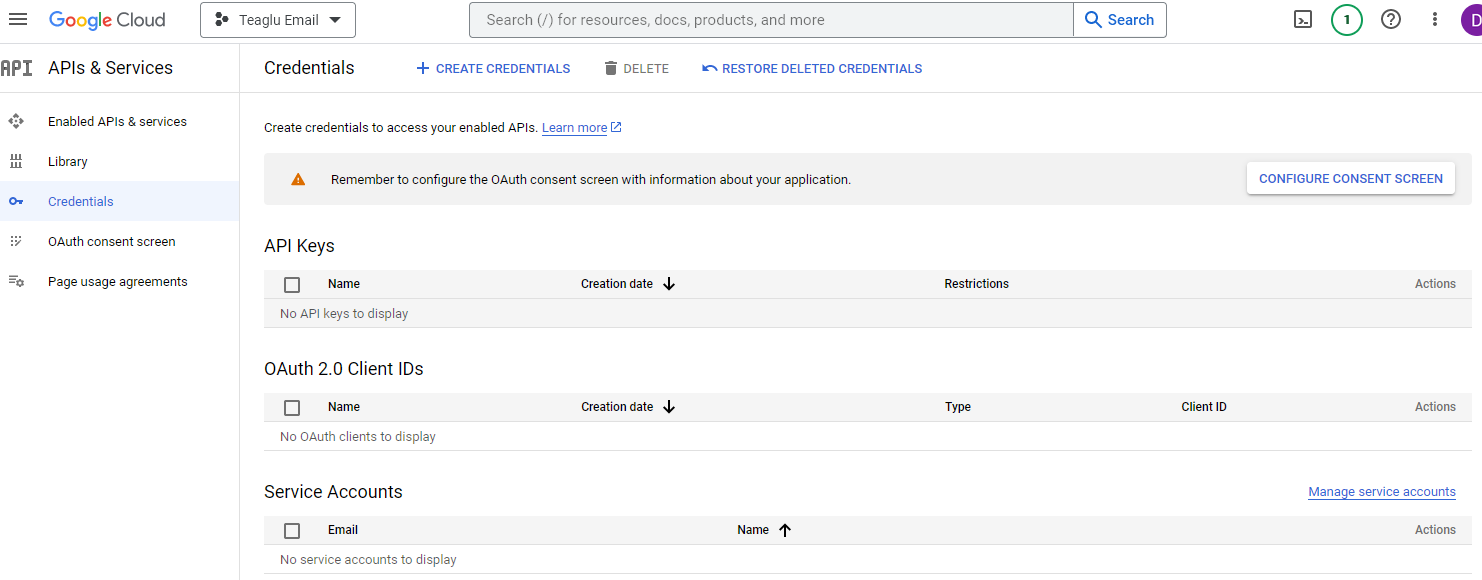
Select the Manage service accounts link on the right, and you will see a list of service accounts - this may be empty if you don't have any other service accounts:

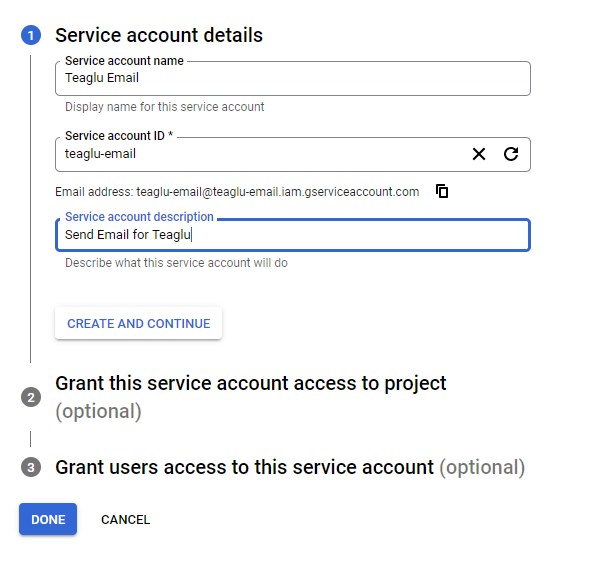
Select to create a new service account, and name it whatever makes sense to you. You don't need to fill in the #2 and #3 sections of the definition:
After creating the account, you will see the service account with a number of tabs:
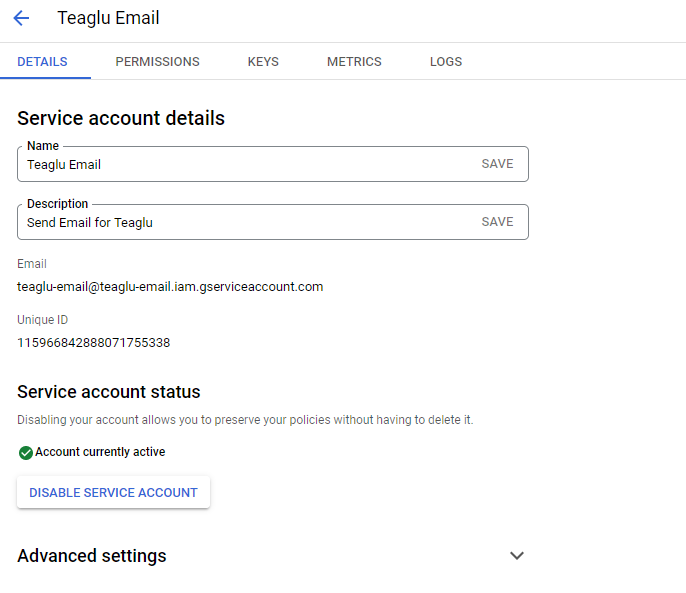
Click on the Keys tab, which will look like this:
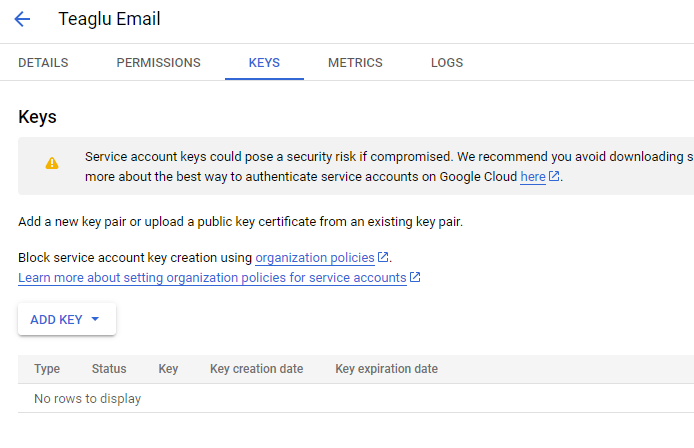
Select to add a new key, and use the key type of JSON:
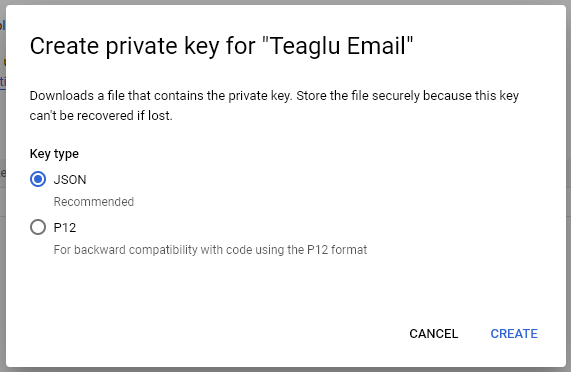
When you create the key, it will download a JSON file that contains the private key used to gain access to send emails - this cannot be recreated later.
Authorization - Step by Step
In the authorization step we grant a google identity rights to send email on behalf of the customer's domain. For this you will need administrative access to the customer's domain, or you can give the necessary information to the customer's IT department to make the change.
Under Google Workspace admin panel at https://admin.google.com, select Security, then Access and data control, then API controls:
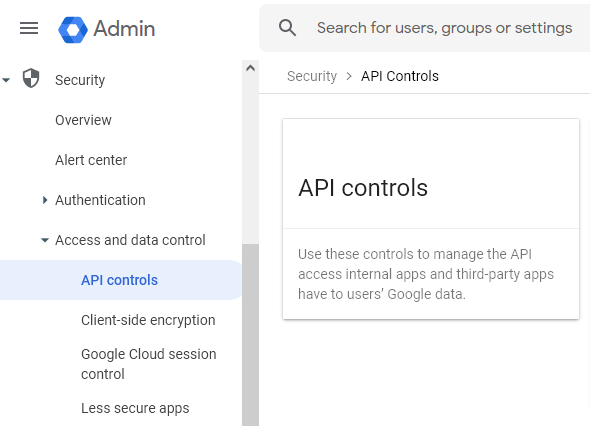
At the bottom of the screen client on Domain Wide Delegation, and under API clients select Add new:
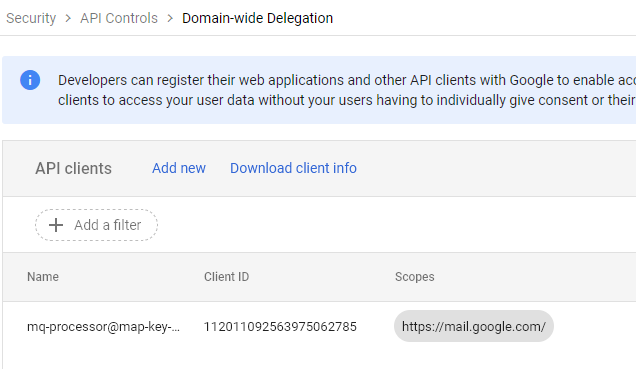
For the client ID, enter the client ID from the service account, and for scope enter "https://mail.google.com/". This has to be exact, and don't include the double quotes.
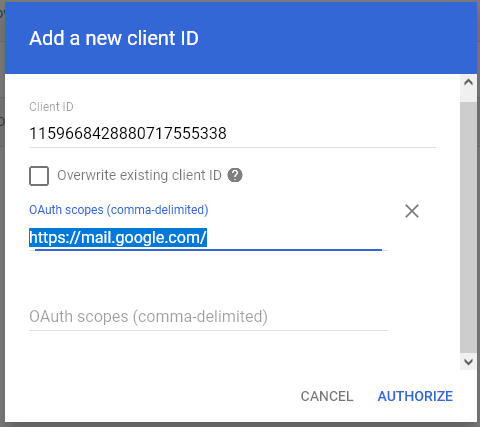
At this point the service account is delegated to send email as anyone in the domain.